1. Enable i2c on the Raspberry Pi.
sudo nano /etc/modprobe.d/raspi-blacklist.conf
Locate the line blacklist i2c-bcm2708
Comment it out by typing a '#' in front. i.e. #blacklist i2c-bcm2708
2. Load the required modules at startup.
sudo nano /etc/modules
Add the following line at the end
 i2c-bcm2708
 i2c-dev
 rtc-ds1307
3. Install i2c-tools
sudo apt-get install i2c-tools
4. Reboot (Run sudo reboot)
Note: The following commands require root privileges to run. It is easier to run them from a root prompt.
A root prompt can be launched by running sudo bash.
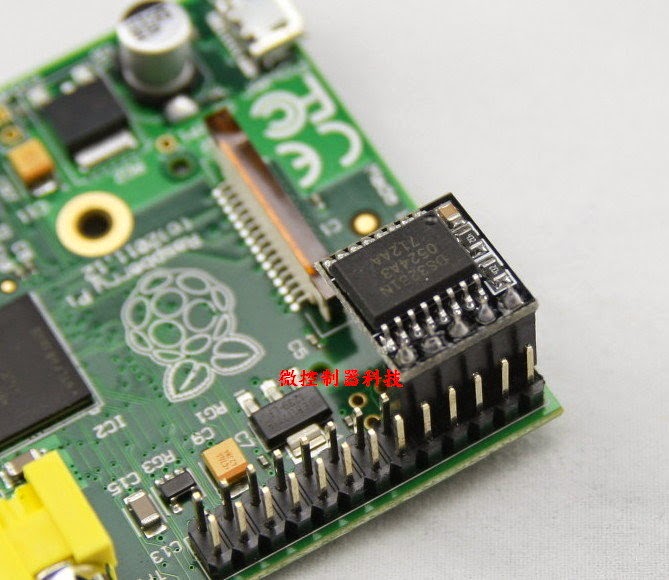
5. Check for I2C connectivity to DS1307
Run i2cdetect -y 0 on Model A
i2cdetect -y 0
Run i2cdetect -y 1 on Model B
i2cdetect -y 1
The address 0x68 should be listed if the module is connected properly.
6. Instantiate the DS1307
Run echo ds1307 0x68 > /sys/class/i2c-adapter/i2c-0/new_device on Model A
echo ds1307 0x68 > /sys/class/i2c-adapter/i2c-0/new_device
Run echo ds1307 0x68 > /sys/class/i2c-adapter/i2c-1/new_device on Model B
echo ds1307 0x68 > /sys/class/i2c-adapter/i2c-1/new_device
7. Ensure that the system time is set.
8. Initialize the hardware clock
hwclock --systohc -D --noadjfile --utc
This will set the time on the DS1307.
9. Verify the hardware clock
hwclock -r
If everything is configured correctly, the time and date is displayed.
10. Configure the hardware clock to synchronize on boot up.
nano /etc/rc.local
Insert the following lines before the 'exit 0' line
echo ds1307 0x68 > /sys/class/i2c-adapter/i2c-0/new_device on Model A
echo ds1307 0x68 > /sys/class/i2c-adapter/i2c-0/new_device
echo ds1307 0x68 > /sys/class/i2c-adapter/i2c-1/new_device on Model B
echo ds1307 0x68 > /sys/class/i2c-adapter/i2c-1/new_device
sudo hwclock -s
references:
http://yehnan.blogspot.tw/2014/01/raspberry-pirtc.html
http://feilipu.me/2014/12/21/ds3231-for-raspberry-pi/
http://www.instructables.com/id/Set-up-Real-Time-Clock-RTC-on-Raspberry-Pi/
O